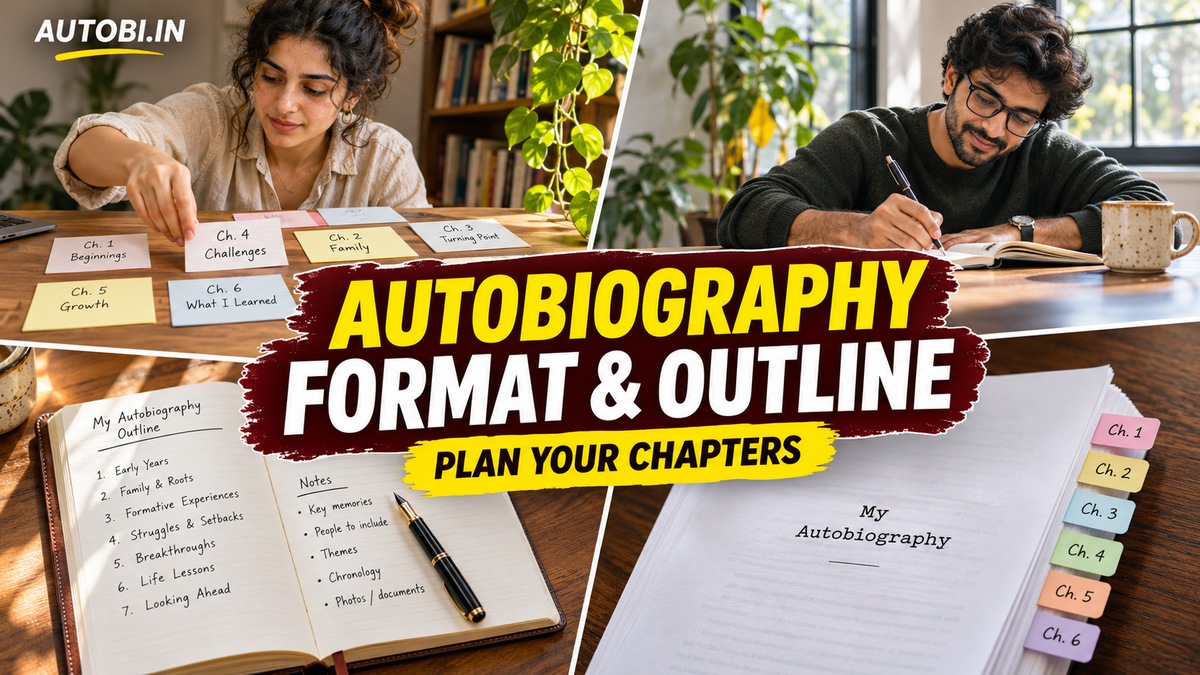
An autobiography format is the structure you use to organize your own life story. For a short essay, an introduction, body and conclusion are usually enough. For a book, divide the story into chapters with a clear sequence and a purpose for each section.
There is no single mandatory format for every autobiography. Follow your teacher’s, publisher’s or organisation’s requirements when supplied. Otherwise, use the framework below as a planning tool and adapt it to the story you want to tell.
Choose the format before you outline
A school essay needs selection: a few experiences connected to a clear idea. A family life-story book can include more background, photographs and context. A memoir usually narrows the focus to a period or theme. Decide which project you are making before collecting every memory.
Write down your intended reader, approximate scope and main thread. For example: “A short family book about the places we lived and how each move changed us.” That sentence helps you decide which memories belong.
Format for a short autobiography essay
Introduction
Introduce your voice and focus. You can begin with a specific scene or a direct statement about the experiences that shaped you. Give enough background to orient the reader, without trying to summarize your whole life in the opening paragraph.
Body
Choose two or three connected experiences. For each, explain the situation, what you did and what changed. Use transitions such as “By the following year” or “That experience influenced my next decision” to show the relationship between events.
Conclusion
Return to the main idea and explain your present perspective. A realistic next step is often more convincing than a sweeping promise. Avoid introducing an unrelated achievement in the final sentence.
A chapter-by-chapter autobiography outline
- Roots and beginnings: family, place, language and the environment you grew up in.
- Early memories: scenes that show your childhood world.
- Learning and belonging: school, friendships, mentors and interests.
- Growing independence: first responsibilities and decisions.
- A turning point: an event that changed your direction or understanding.
- Work, relationships and everyday life: the commitments that shaped your adult years, where relevant.
- Lessons and changing beliefs: what you reconsidered as you gained experience.
- Life now: what matters today and what you hope to pass on.
These are suggested functions, not compulsory chapter titles. A student might combine the early sections and omit adult-life chapters. A family-history project might expand places, traditions and relationships. Give chapters titles that reflect their actual content.
A fill-in planning template
Copy these prompts into your notes:
- Working title: ___
- My intended readers: ___
- The period covered: ___
- The central thread: ___
- Chapter title: ___
- Opening scene: ___
- People and places readers need to understand: ___
- What happened and what I did: ___
- What changed or what I learned: ___
- Dates, names or details to check: ___
- Photographs or documents I have permission to use: ___
Complete one chapter plan before outlining the rest. This makes the process concrete and helps you discover whether your chapters are too broad.
Example: turning a topic into a chapter
“My school years” is a topic, but it does not yet tell you what to write. Narrow it to “The year I learned to ask for help.” An opening scene could show you struggling with an assignment. The middle explains the decision to approach a teacher. The ending reflects on how that decision changed your habits.
This example is an invented planning demonstration. Your chapter should use your own experiences, and you should mark anything you cannot confidently remember rather than inventing details.
Chronological or thematic order?
Chronological order follows time and is often easiest to manage. Thematic order groups memories around ideas such as home, work or friendship. It can suit a reflective book, but readers still need dates or life-stage cues when the narrative moves between periods.
If most of your planned scenes explore one change rather than a broad life history, compare memoir and autobiography before deciding on the structure.
Formatting the finished document
Use consistent chapter headings, readable body text and clear paragraph breaks. Add a title page and table of contents for a longer work. Caption photographs with relevant context and distinguish a known date from an estimate. Check the exported PDF for page breaks, missing text and awkward headings before sharing.
Keep an editable source copy as well as the PDF. A polished layout cannot replace revision, so read the complete story after arranging it.
Outline review checklist
- Does every chapter serve a different purpose?
- Can a reader follow the passage of time?
- Have I included reflection alongside events?
- Have I omitted details that are private or irrelevant?
- Do I know which facts still need checking?
For help drafting scenes, read how to write an autobiography. For a shorter school assignment, see our original student examples. You can also use the Autobiography Maker to begin arranging your own sections.